September Gardening: Starting Seeds & Other Fall Preparations
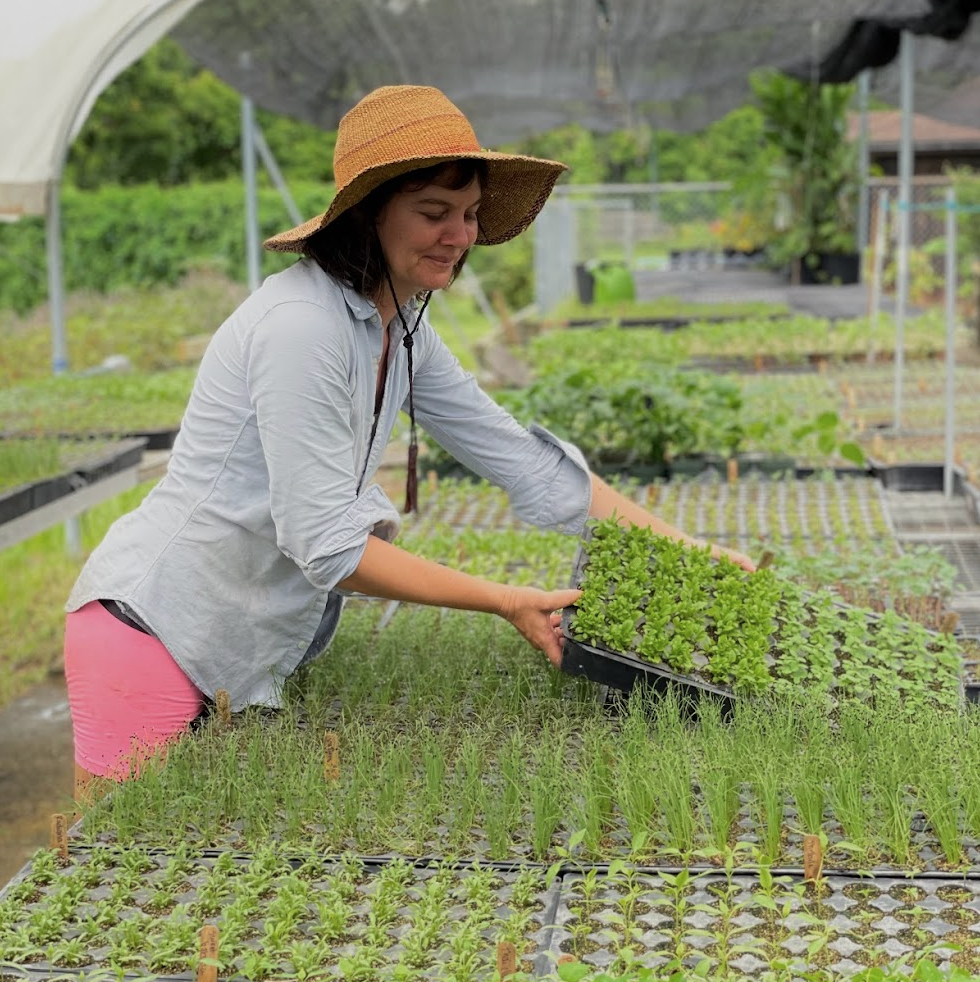
September is a big month for our team, because we do a lot of "behind the scenes" prepping for the upcoming fall planting season. Since we have a nursery one of our biggest tasks in September is making plants in the greenhouse which is covered and protects baby seedlings from the strong rain storms that are common this time of year. From our experience it is still too early to plant crops out in the field or in raised beds because the weather is still too hot and storms are unpredictable. Starting vegetable plants from seed is pretty tricky, but it's definitely something every gardener should at least try. If you are a complete beginner you may want to wait, as producing your own healthy seedlings is a bit of an intermediate activity, but its a great place to learn and also, we can help! Every fall we teach a workshop called The Secrets of Seed Starting that you may want to take, or you can also watch our seed starting video on YouTube for free!
Last months blog post had some info about it about testing your seeds from last season, so if you do have leftover seed from previous seasons, don't forget to do that step before starting everything for your garden. Testing your seeds ensures that you are starting with viable material. If you can be confident that your seeds are healthy and then they don't germinate, then you will know that something else is up (not enough water, maybe the space you put them in was too hot, or an animal came and dug the seeds out of the tray??). If you aren't confident in your timing with all of this stuff, we definitely recommend following us on instagram where we post about what we are doing very regularly. Also take note that we don't start any of our fall seeds (tomatoes, kale, cabbage, cilantro, etc. etc.) before the second week of September, so you really shouldn't either.
Prepping your garden:
Taking time in September to prep your garden for fall will pay off when it's planting time. There are many ways to prep a garden and some of them are related to what you already or didn't do earlier in the summer. Here is a list of key gardening terms relating to summer garden prep and how each of them works this time of year.
Cover Cropping:
If you cover cropped your garden in the spring or anytime during the summer months you'll want to consider chopping down and incorporating those cover crops now so that they have some time to decompose and compost in place before planting. Cover crops protect your soil from erosion, they help to mitigate moisture, they prevent weeds and they can also reduce pest pressure in your garden, but one of the most valuable things they provide is organic matter to build living soil. Cover crops are usually fibrous plants high in nitrogen so when they are cut down and incorporated into the soil they break down and add nutrients to your garden for building organic matter and micro organism diversity. If you succeeded in growing a cover crop this month is the time to cash in on your rewards! The best way to capture the benefits of your lush green cover crops is to cut them down at the base (leave roots in the soil to decompose on their own), lay them down on the soil surface and cover with a thin layer of soil and a thick layer of straw. In a sense you are composting your cover crops right in place. When planting time rolls around in a few weeks you will be able to push aside the rough materials on the surface and plant right into the soil underneath. The roots that break down in the soil provide aeration and if the cover crop was sun hemp or another legume family plant they will also deposit pure nitrogen into the soil for your plants in the fall. The materials on the surface provide moist control, nutrients and food for microrganisms. It's a win win if you can get it just right!
Lasagna Soil Building:
If you used this technique earlier in the spring or summer your garden will need very little attention this month, but if you let the garden get weedy and overrun with old crops you might want to consider using the lasagna soil building method to prep your garden. Early September is probably the last chance to do something like this in order to have enough time for everything to break down before you will be planting fall crops. First you'll want to pull out any diseased or expired plants as well as weeds that have seeds or rhizomes and remove them to the trash or compost. Before finishing the lasagna layers you may want to consider double digging, so read the following section and then come back to this paragraph :) After double digging you can begin layering materials on the surface of your garden bed. In the spring we like to add a manure and a straw layer onto of the green layer of old plants that you pulled out. Straw goes on the top. In September you probably shouldn't use manure unless you plan to plant your fall crops late in the season (the rule of thumb specifies that manure should have 3 months to break down before planting). If you plan to use the garden in October we recommend adding a layer of soil and on the very top a thick layer of straw.
Double Digging:
When we prep a garden for planting we perform a technique called "double digging" which is essentially just loosening all of the soil with a shovel. This aerates the soil, reduces the compaction that likely occurred during summer, and also if you do have roots from nearby trees creeping in this process will kill them if done properly. It's hard to explain double digging because its so simple people tend to think they must be misunderstanding... but basically you just put some muscle into using a shovel to dig up every square inch of your garden about 10-12" deep. If you encounter roots from nearby trees or hedges things will get a little bit harder, but it's important to address this issue now because roots from other plants invading your garden soil will outcompete annual plants (this basically means the annual plants you add to the garden won't have access to nutrients and water because the roots from established plants and trees nearby will take it). Use a sharp shovel to cut through roots and use your hands to pull as much of them out of the garden area. The more thorough you are the better for your annual plants in the fall!
Installing a new garden:
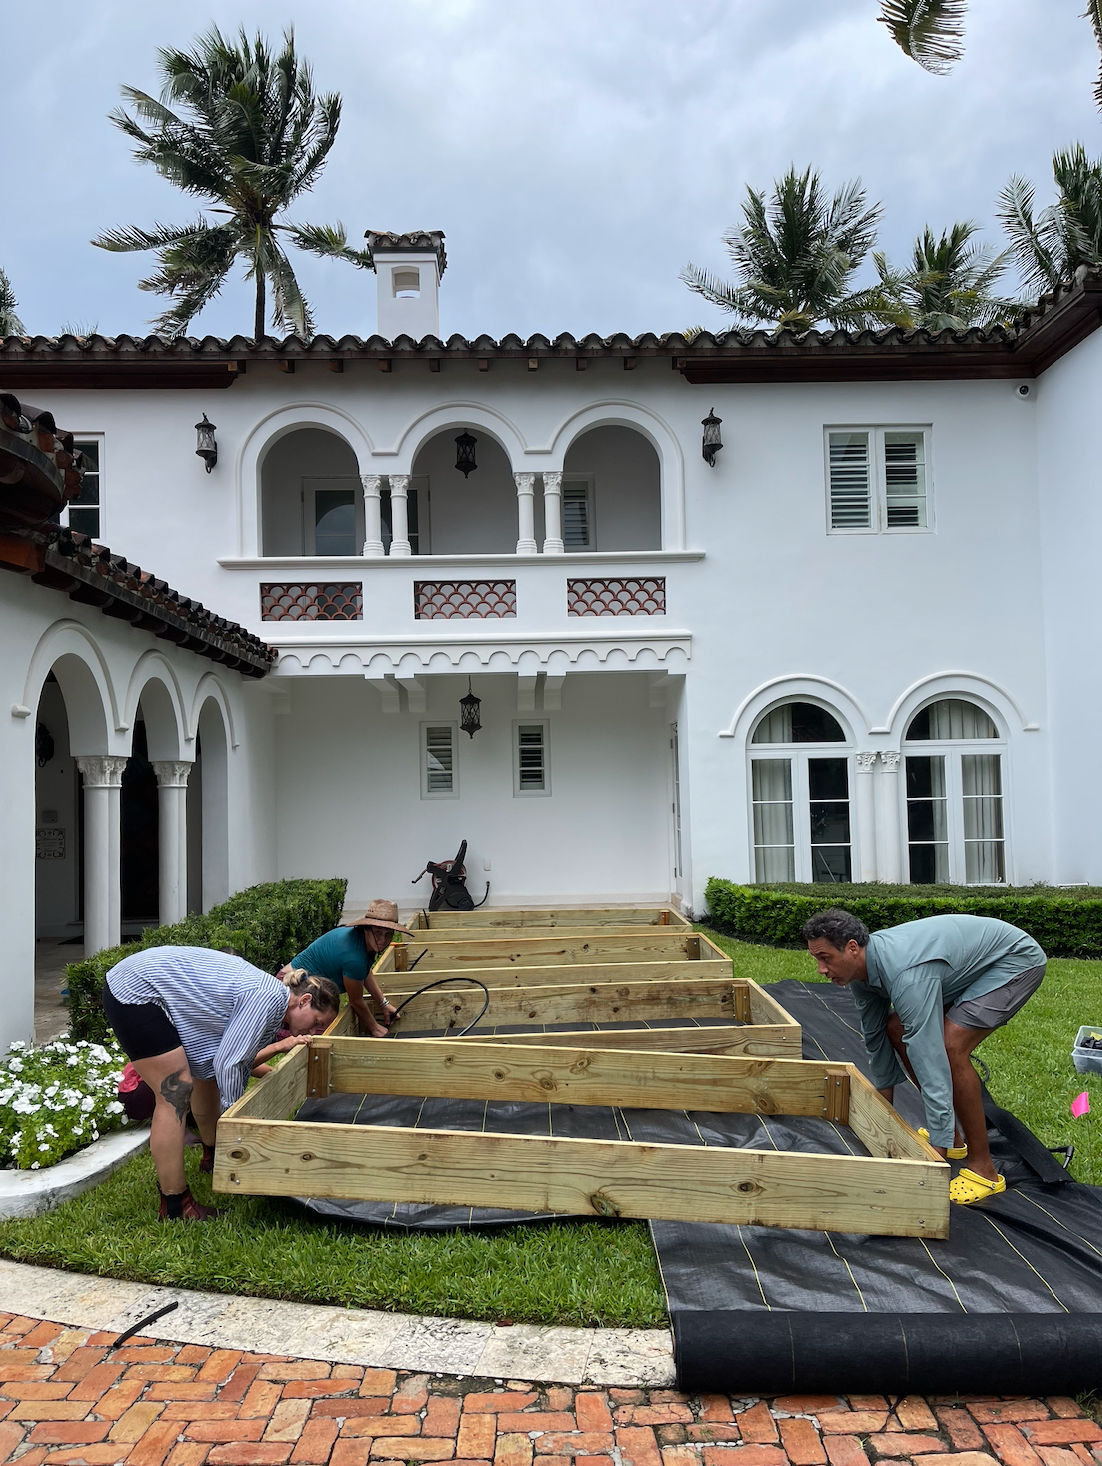
September is a great time to build yourself a new garden or expand your current garden set up! The most basic raised bed should be 4' x 8' bed made out of pressure treated pine. Why those measurements? Because it the most ergonomic size for the average human body and it conforms to the standard lengths people buy lumber in. The average arm length can comfortably reach across a 4' length from either side of the bed and 8' is a convenient length for lumber boards. If you prefer a longer bed go for it, but if you do stick with 4x8 you just need 3 pieces of 8 foot long lumber with one of them cut in half (to make two 4 foot pieces) and thats it! Why use pressure treated pine, is it safe for organic gardening? Soft wood like pine is the most affordable wood option, but it decomposes very fast in Florida’s tropical climate. Pressure treated wood has a bad rap because it used to be treated with copper arsenate, which is toxic, but as of 2003 it is commercially treated with copper sulfate which is considered to have minimal risk when in contact with garden soil.(reference, Are Pressure Treated Woods Safe In Garden Beds by Phil Wood for finegardening.com) We also recommend reenforcing corners with 4 x 4 posts and carriage bolts to secure it all together.
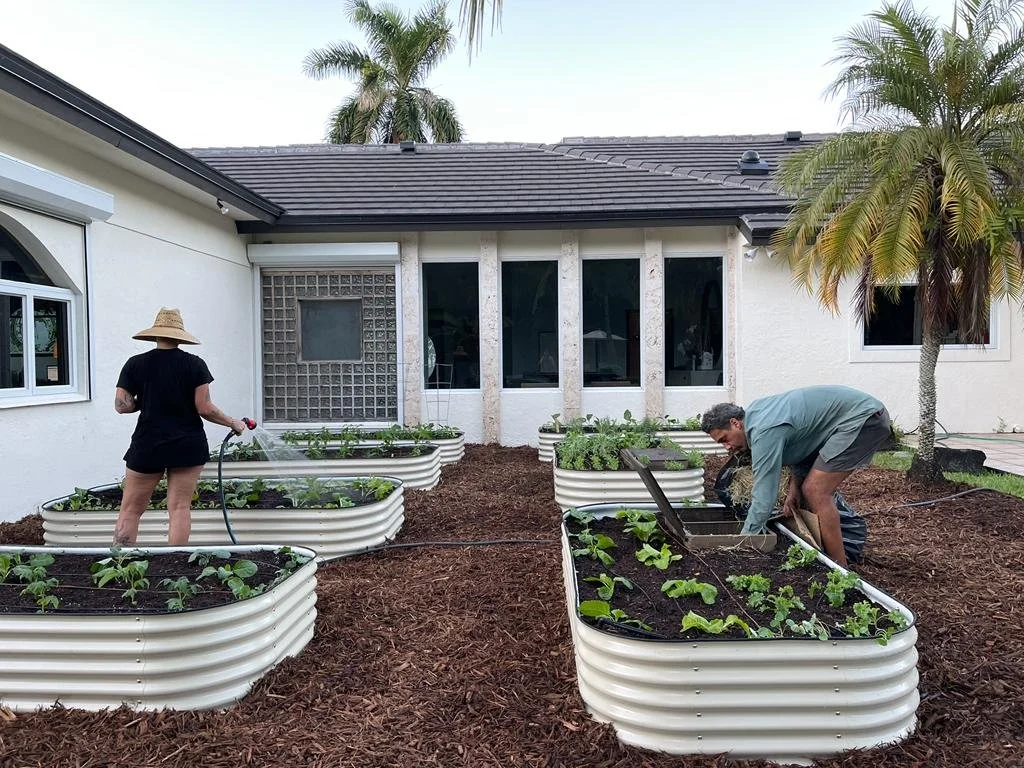
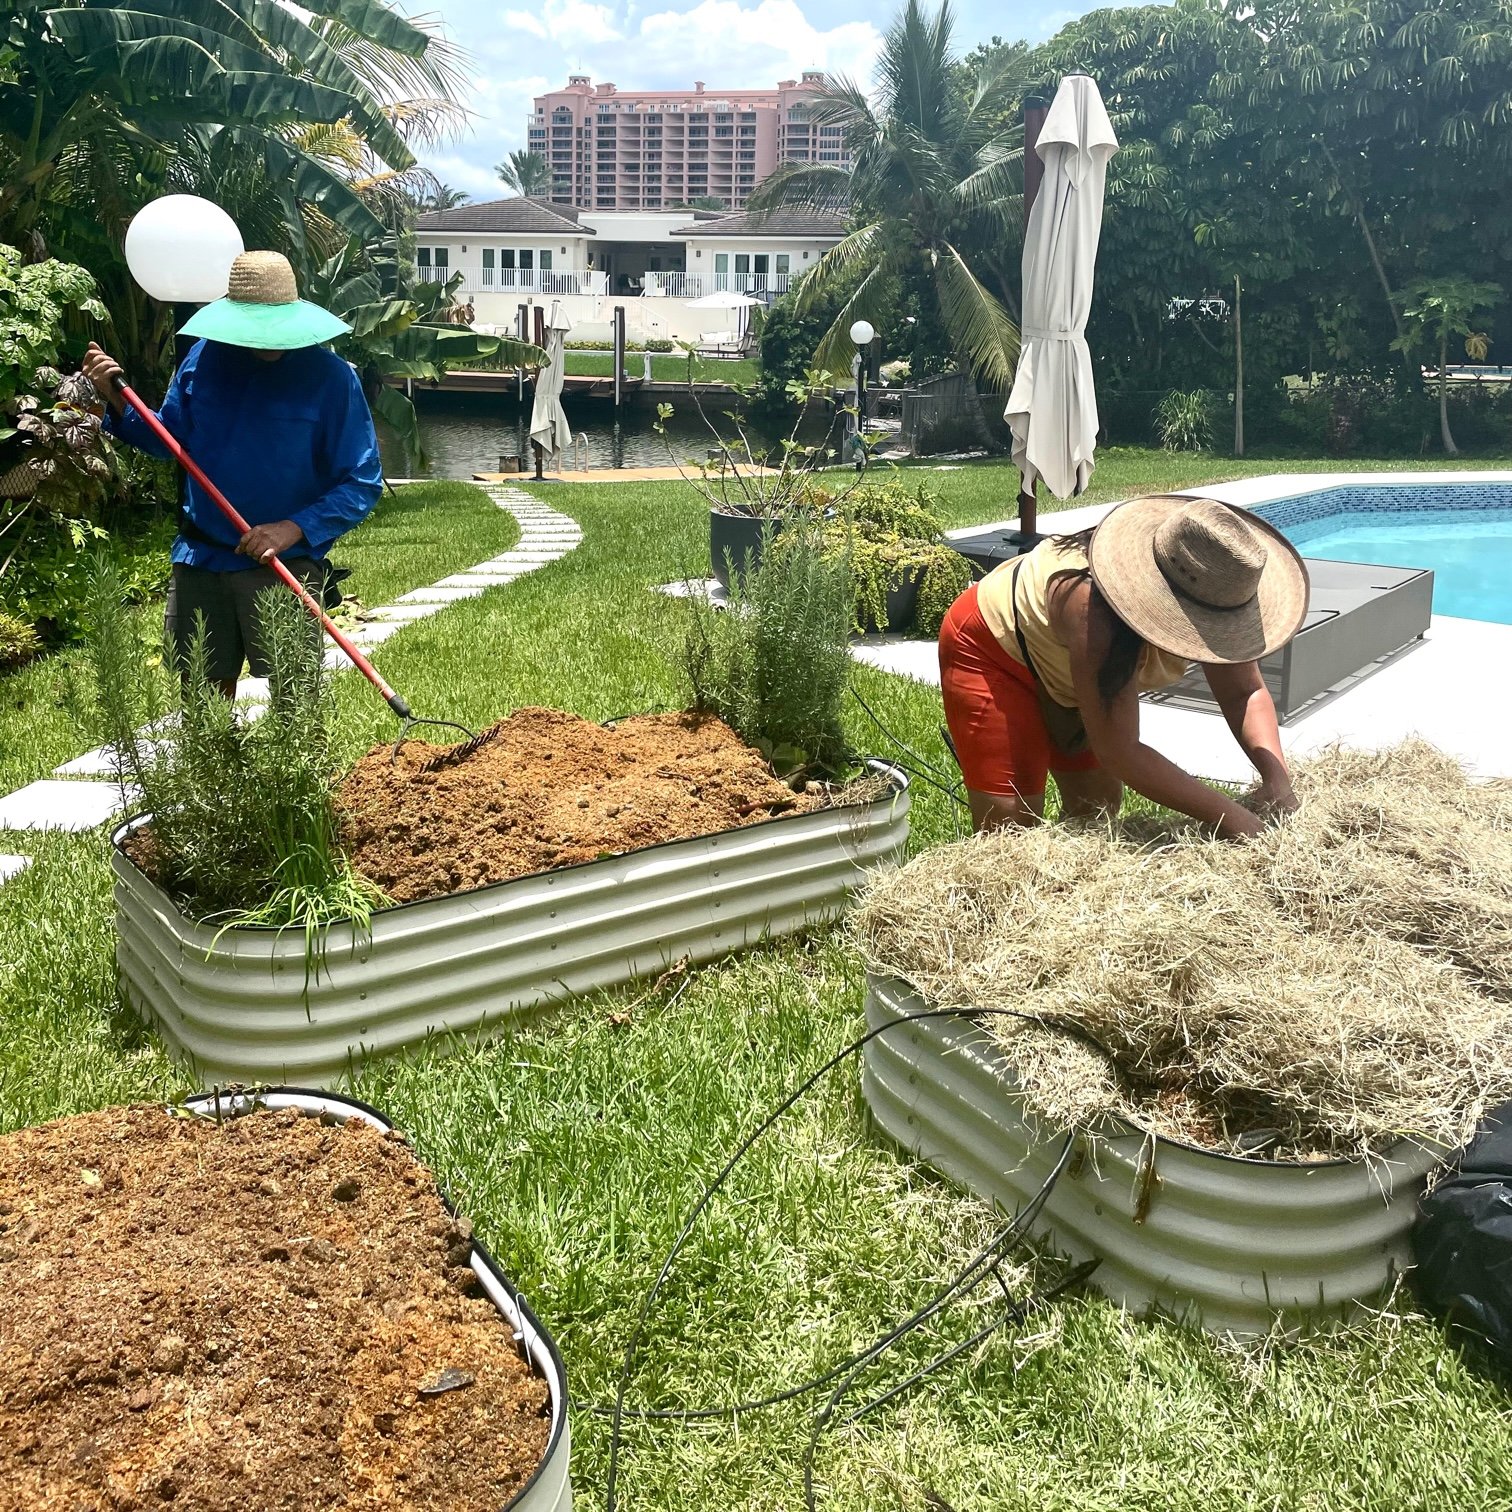
There are a lot of other options for building a garden space besides the classic wooden framed bed. We love using corrugated metal Vego Garden Beds for gardens where people want the plants higher up (so they don't have to bend down so low to interact with the garden or so their dogs don't jump in them). Over the past few years Vego has really taken over the garden bed industry and by now most of the garden we install have these raised beds instead of wood. While they are a bit more expensive than pressure treated pine they last much longer (the pine beds have about a 4 year life span) and they are easy to assemble with no tools. Check out their website to browse colors and now they even have new options for smooth metal too.
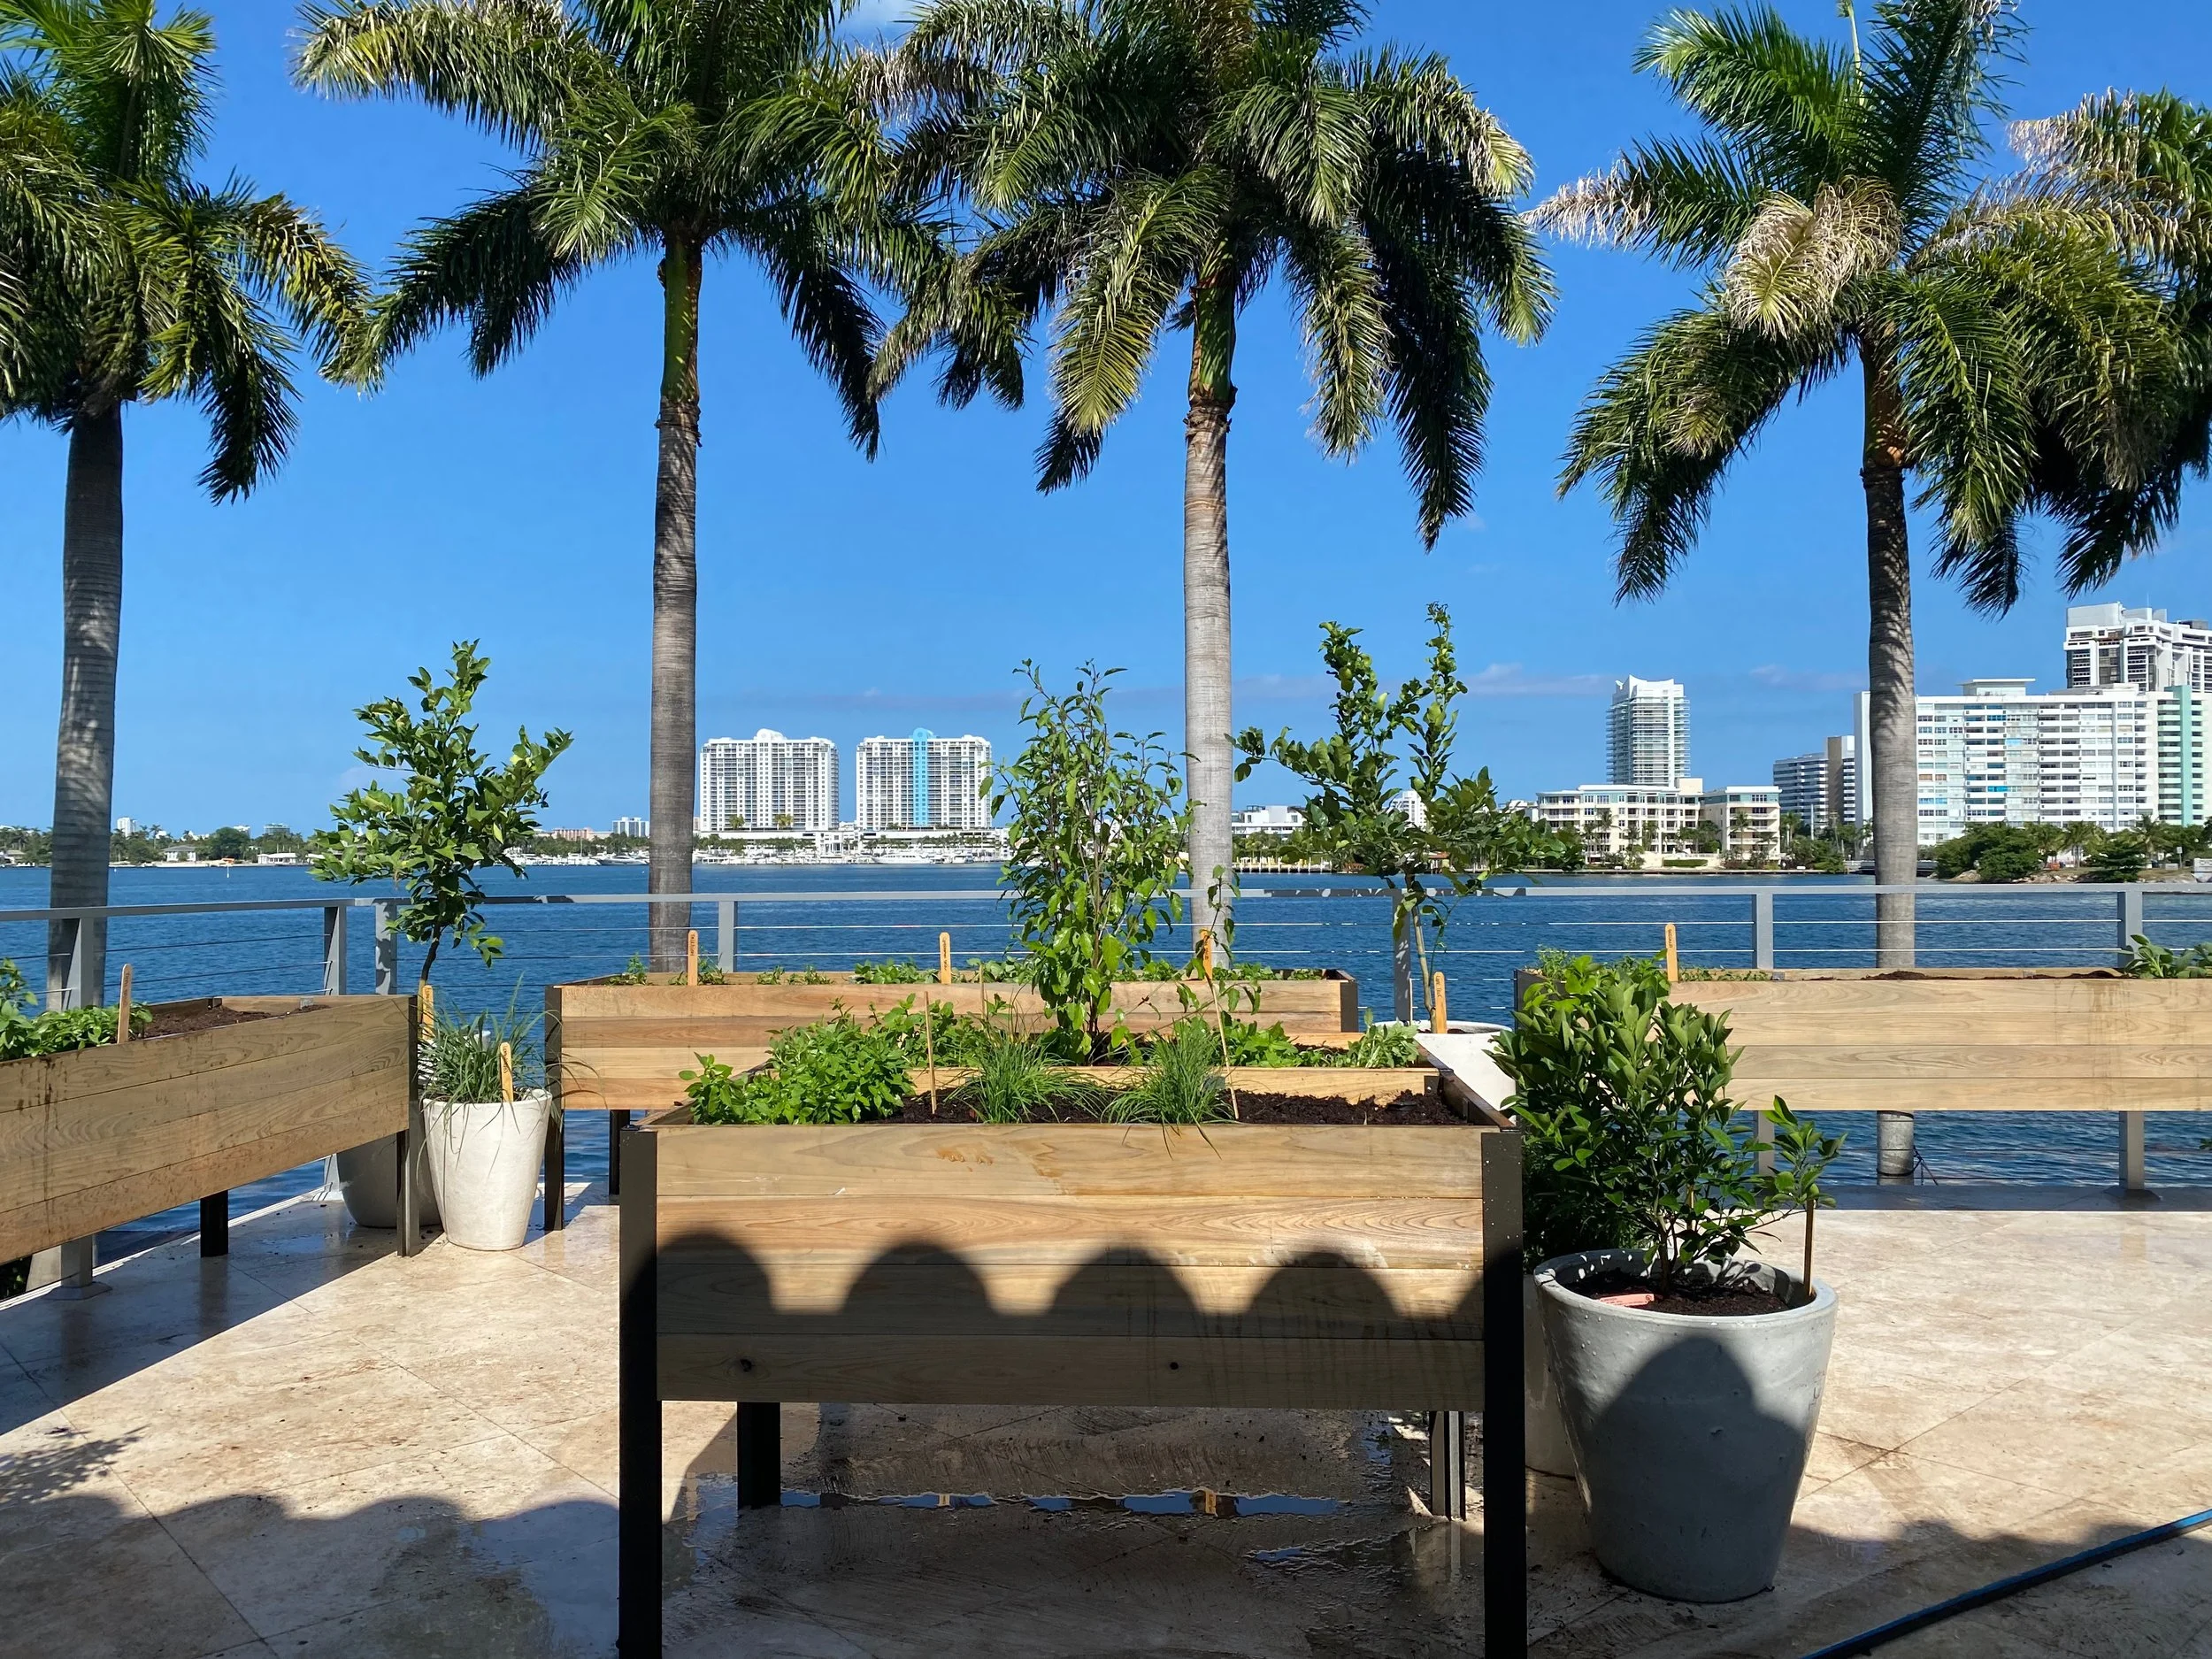
We also use elevated planters from Gardeners.com for situations where the garden needs to go on hardscaping, pavers, patios and balconies. Oftentimes the most sun in a backyard is by the swimming pool, and if thats the case for you, or if you are gardening on a porch or patio, these are a great option. Because they are wood they also only last about 4 years, so keep that in mind when pressing “buy”.
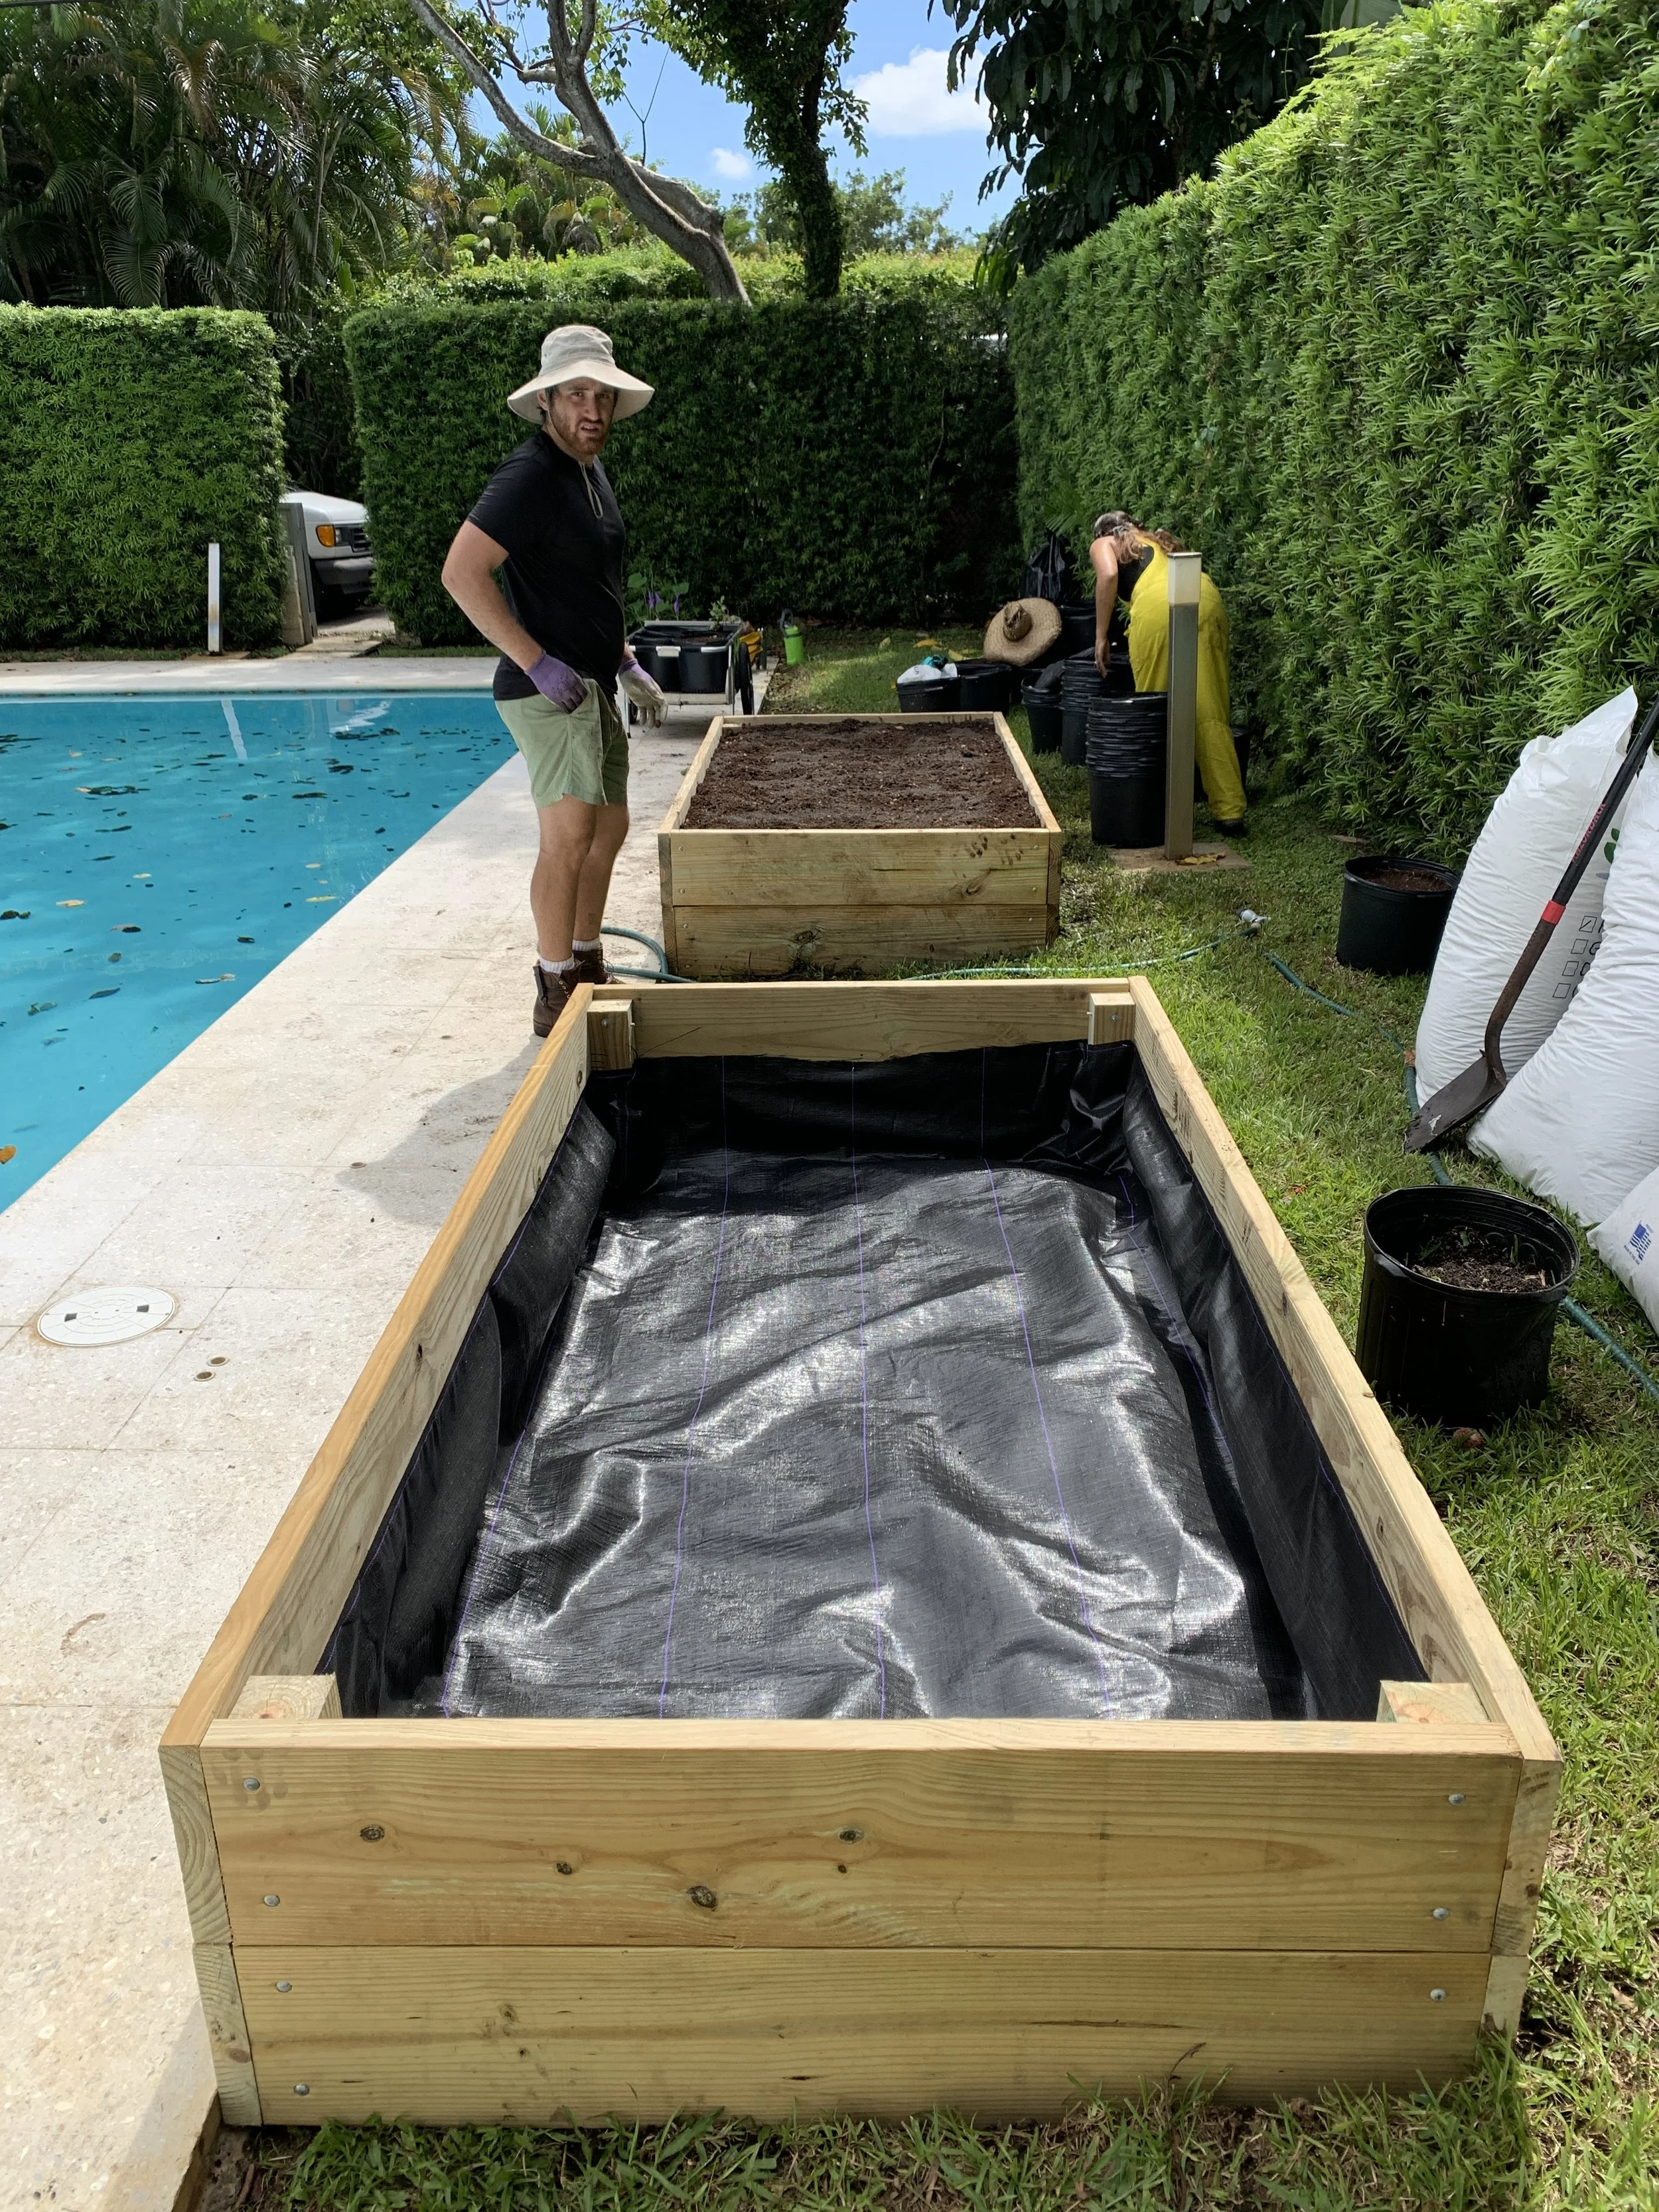
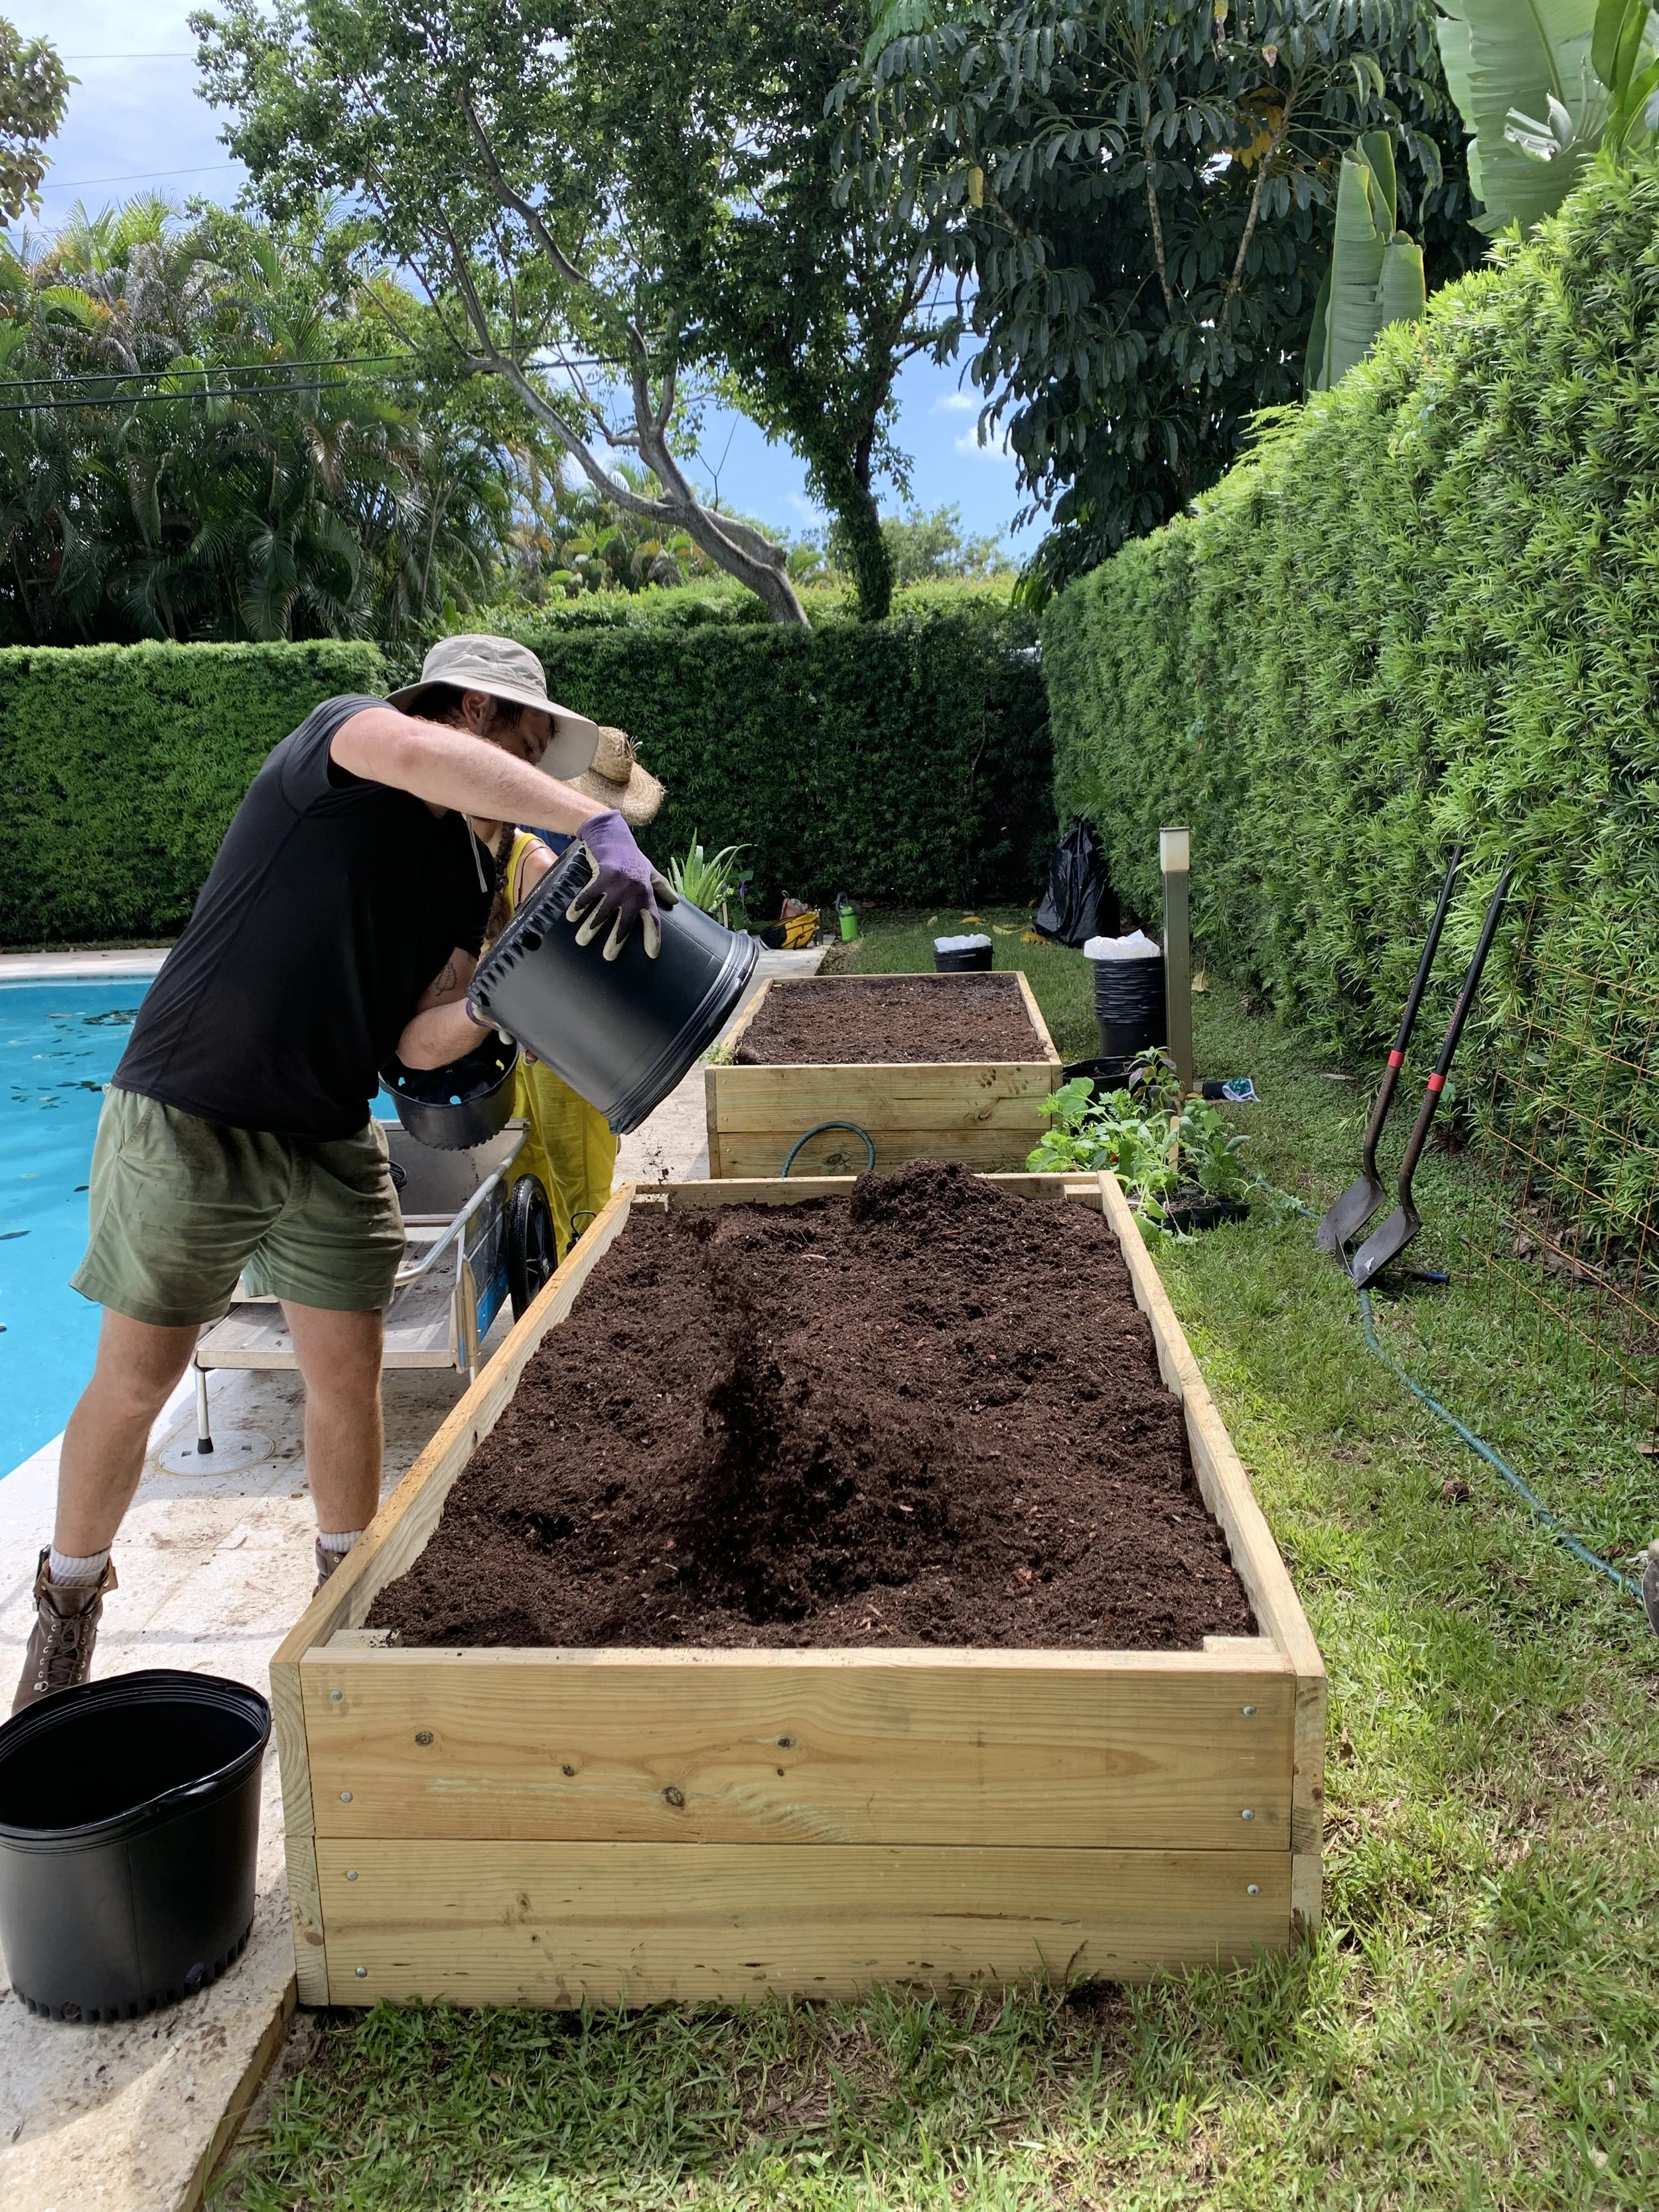
After placing your raised bed where you want it in the garden you'll want to add a liner like the one we sell, so that neighboring trees and hedges don't send their feeder roots into your fresh new soil (trust us, they will do it, they can literally smell the new rich soil when you lay it down) to steal all of the nutrients and water that you are setting up for your vegetable plants. We recommend that you don't skimp on the liner because it will save you time and hard work the following year when it comes time to prepare your garden all over again. It also guarantees that your plants are more successful because they'll have the nutrient and water that they need. After the liner you are ready to fill the raised bed with soil! The subject of soil is kind of a wormhole because there are so many contradictory opinions about what you need to have in your soil and what you should buy. Don't let picking the right soil get too daunting. All commercially produced soil is basically lifeless and nutrient-less no matter how good it is. For example, when you buy the bagged stuff from a big box hardware store, that material is primarily chopped up woody material and peat moss, and its been pasteurized to be sterile (pasteurizing is required by law so it can be shipped safely from state to state). If you buy soil from a local producer like us its a bit better, because we don't pasteurize the soil and its made from local ingredients, but its still not perfectly balanced, doesn't contain much composted material, and doesn't contain the vital nutrients your plants need to thrive. We like to think of it as a filler, on top of which you add the good stuff to make it alive and healthy. Think of the soil as the flour in the cake, and the microbes, bacteria, worms and other living goodies found in your homemade compost is the yeast. Ok we're gonna run with the cake baking metaphor here.... the last essential ingredient for plant success is a granular organic fertilizer... the sugar! Oh, and then once it's all mixed in, water and bake in the sun!
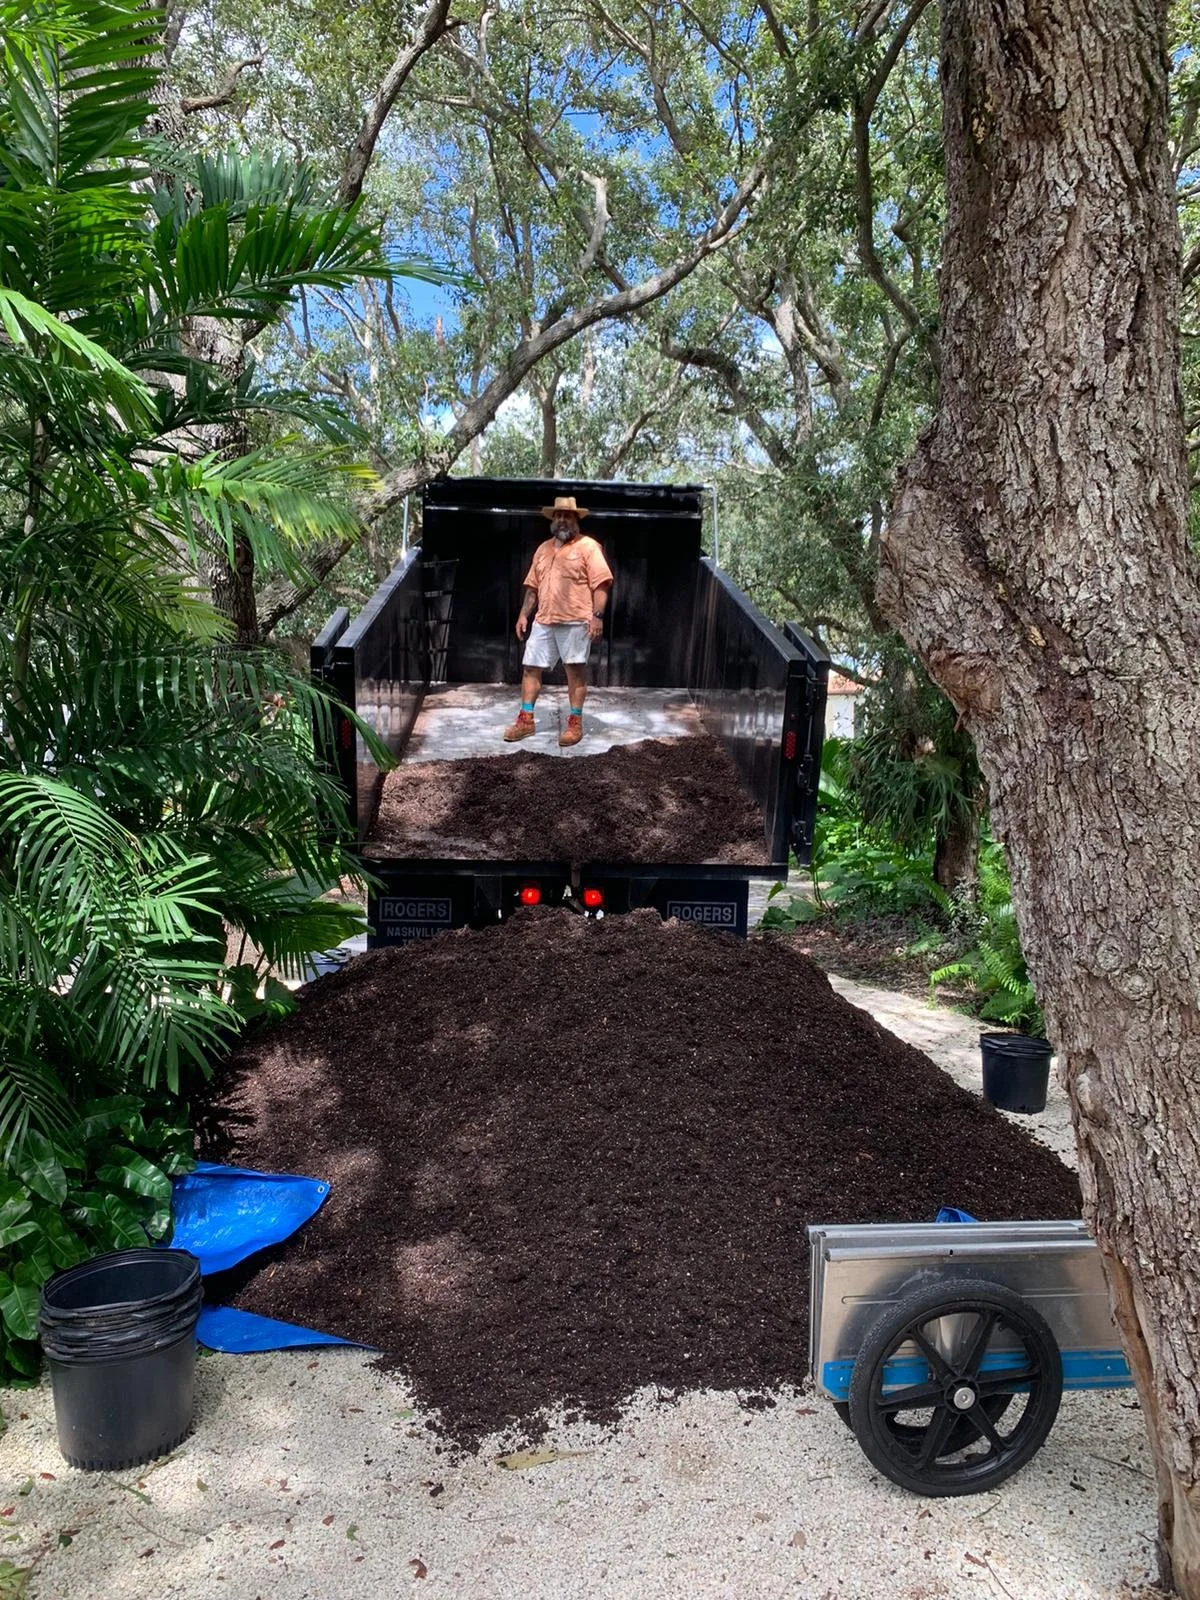
Our soil mix is made of composted woody material, humus (thats completely decomposed organic matter), pine bark (thats for drainage) and coconut coir peat moss blend (thats for holding water). The role of this filler soil is to keep the water content of the soil balanced, that is why most of the ingredients are either for moisture retention or moisture drainage. And again, we cant stress enough, that just like its not a cake without sugar (or some sort of sweetener...) its not garden soil without some sort of fertilizer for nutrients. Our favorite OMRI certified organic fertilizer blend for gardening is Sustane 464, but there are plenty of equivalent options online. Again, the number ONE mistake we see new gardeners make is not adding a granular fertilizer to their new soil when they plant things in it.